Use Cases
Use Case I: Searching for specific documents using metadata and keywords
Let’s do an example search for something in the Estonian language.
For example, we are researching for the types of doctors mentioned in non-Medicine discipline theses, written by students in the University of Tartu. In this search we will be searching for the word for ear doctor in Estonian (“kõrvaarst”).
For this, we will be searching for the term in the whole document, but you could also try this search in the sentences index.
Note
You can also construct a custom search like this:
choose a language (Estonian, Latvian or Lithuanian)
choose Discipline(s) (or eliminate some Disciplines)
choose Genre specifics: University for student works from a specific higher education facility; Publication for journal articles or just specifying the Genre(s)
pick some words or phrases to search for
First, Create a new project or select an existing project. This project should have the documents you want to search from, either in documents or in sentences form. I will be using the project 7: Final corpora.
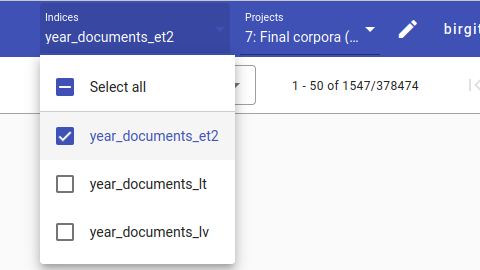
If you are in a new project, you should first add the index to the project. Whether you are using the Final corpora or a new project, pick the Estonian index year_document_et2.

Let’s start the search. If you are in Search view, look to the left and you should find the search constraints, as pictured above.
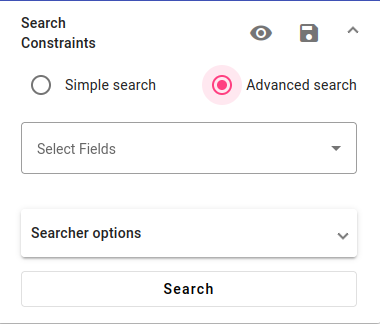
Pick Advanced Search.
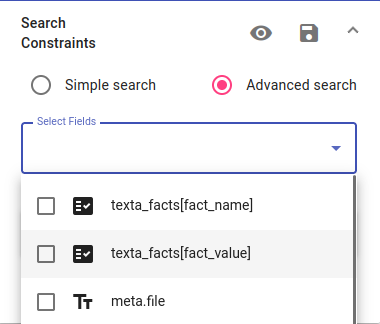
We will be using metadata for this search. Choose to use texta_facts[fact_value]. Choose that University must be “Tartu Ülikool” (University of Tartu) with the is operator. This filter will give us all theses written by students of the University of Tartu.
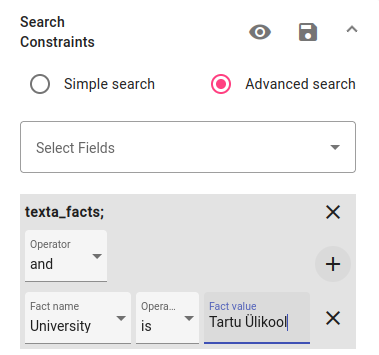
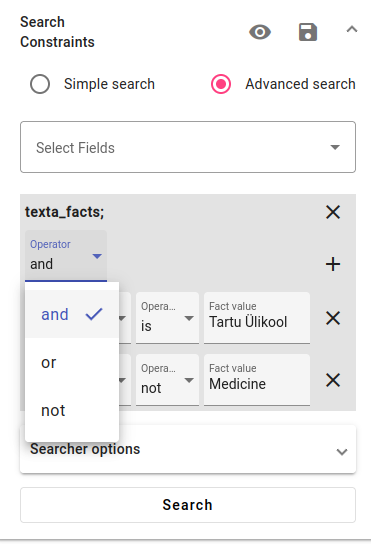
This is what your search constraints should look like now. Press plus to add another fact value.
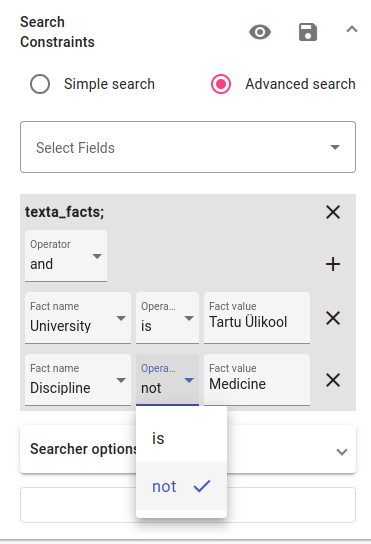
Add that the Discipline value should not be “Medicine”. To do this, choose the not operator. This filter will give us all documents that aren’t in the Medicine discipline.
These two searches will automatically be combined with the and operator, that is, if we pressed search now, we would get all Estonian theses from the University of Tartu that are not in the medicine discipline. Read more information about Operators.
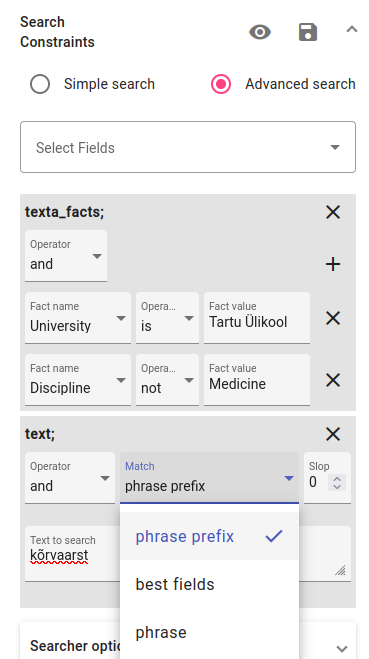
Next, you can try to use the text field to search for raw forms of text. Select the text field. Write the term you’d like to find in the box with the phrase prefix (can also have compound words or other forms of the word) or phrase operator (will find only the word you write in). Try it out with kõrvaarst.
With phrase prefix we get 7 results, with phrase only 2 for kõrvaarst.
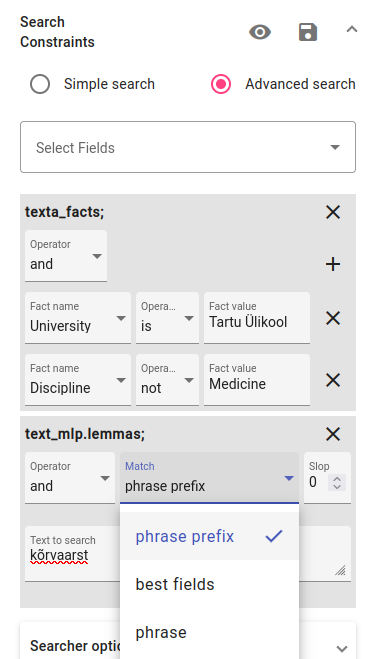
For words that have different forms when conjugated/inflected, it might be more useful to use the text_mlp.lemmas field. You can use either the phrase prefix or phrase operator with this search. With phrase prefix we get 5 results, with phrase only 3.
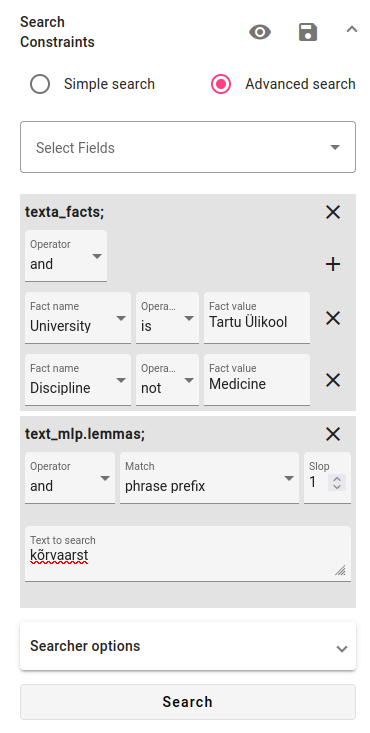
You can also try increasing the slop value for finding misspelled variants of the search term. Increasing the slop to one (allowing one letter to be different) doesn’t change anything for the results for this particular query.
A variant of this search query has been saved in the project 7: Final corpora as kõrvaarst query so you can see the exact search constraints.
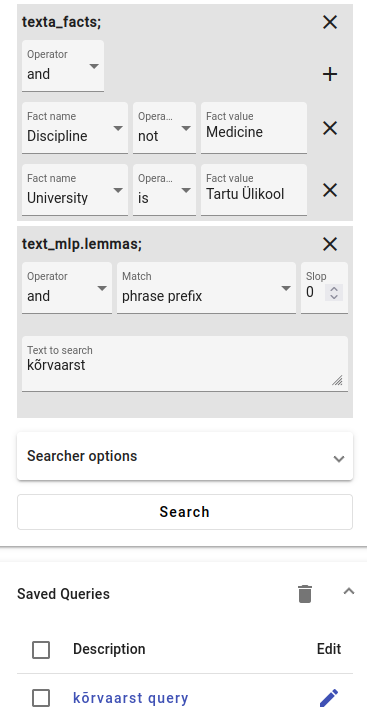
You can try saving the same query or a custom query of your own choice.
Use Case II: Analyzing the metadata and common features for a subset of the corpus
Analyzing the metadata can give us more information about the documents we have searched for. This can also include other interesting features like identifying common words, part-of-speech tags etc. We can use Aggregations to get this information.
Let’s use the subset of documents we’ve found earlier to try and analyze the metadata.
We know the university for these documents, that the documents are theses and that they aren’t in the medicine discipline.
These are our research questions:
What discipline(s) are the documents from?
When were they published?
What type of theses are these: BA, MA, PhD or other?
Do these documents have anything else in common, for example any common words?
Let’s start the search.
If you’ve saved the search query from Use case I, you can use the same search constraints by accessing the saved query. If you haven’t saved the search query you wish to analyze, you can save it by following the instructions here.
To view the Aggregation options, scroll down in the search drawer and find the Aggregations.
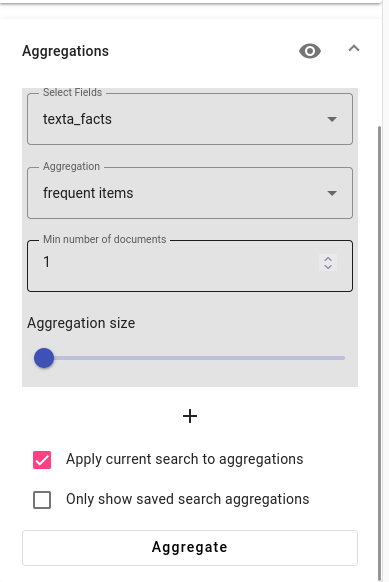
You can use the default settings when trying to find the metadata for the first three questions. Just press Aggregate.
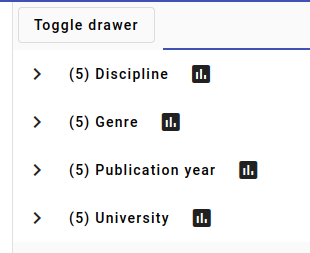
This is what you will see by default, a list of the metadata in the facts for the selected documents. You can click on any of the categories (Discipline, Genre, Publication year, University in the example) to open up a detailed overview of the fact values for that fact.
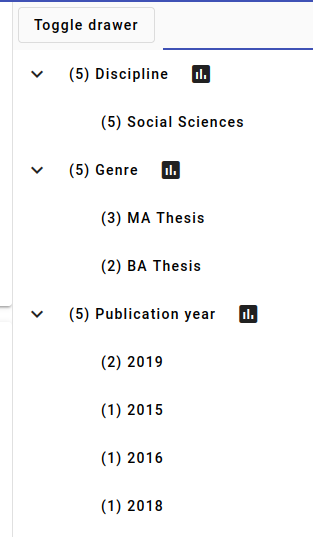
We open up the Discipline, Genre and Publication year facts.
Now we can answer most of our example questions from before, since we find out that:
The documents are all from the Social Sciences discipline.
The theses were all published in the 2010s, two documents are from 2019, the rest from different years.
Two documents are BA theses and three are MA theses.
Only the fourth question remains unanswered. For this, we need to make another query. The Aggregator also allows you to look at the data in tables or in bar chart form, if you prefer a table or chart.
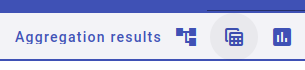
Go to the Aggregation results options in the upper center. The left icon represents the default hierarchical view, the center one opens up the tables view and the right one the bar chart view.
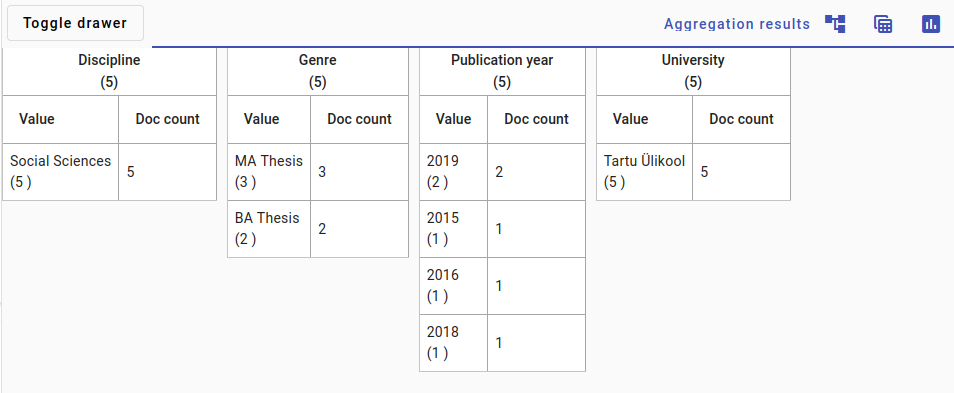
Here’s the tables view for the same documents.
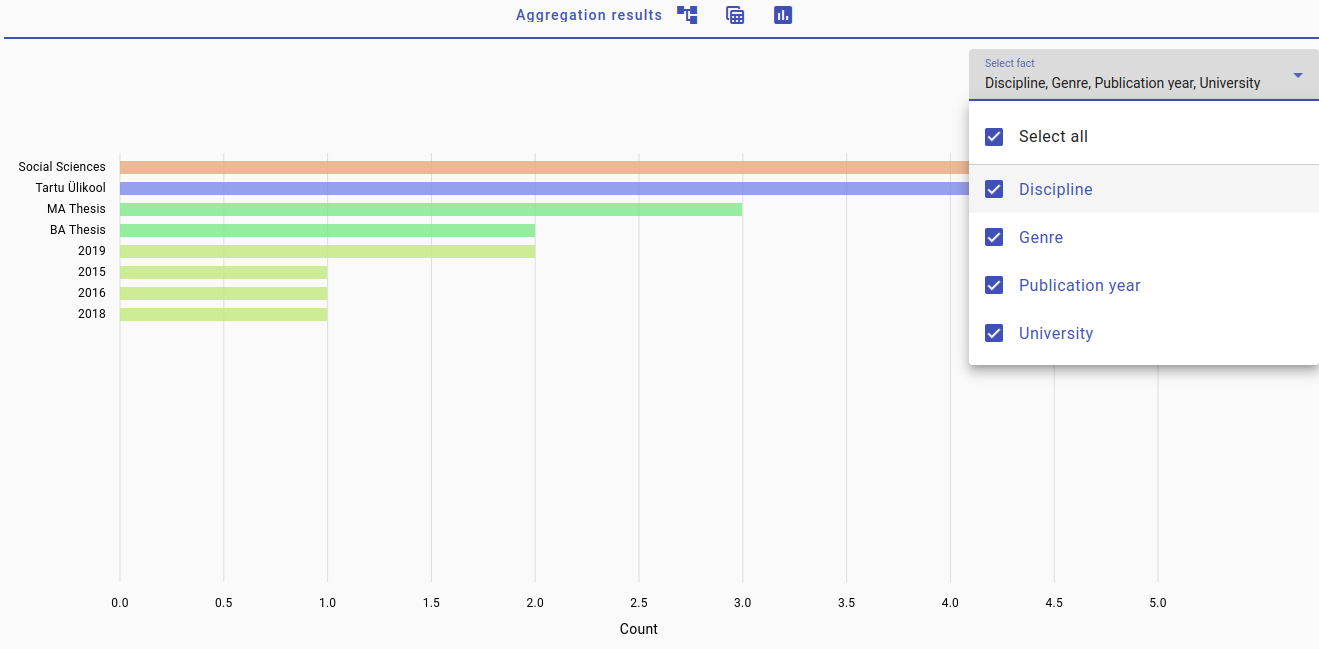
And here’s the graph view for the same documents.
Now let’s do the other search.
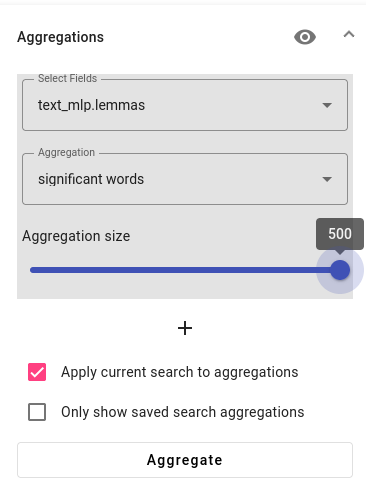
First we will try to see if the documents have any significant words in common. For this, we need to select the text_mlp.lemmas field and aggregation type as significant words. In case you have a lot of documents, you should also increase the aggregation size (shown in the example image at maximum).

Unsurprisingly, we see that the most significant word in those documents is kõrvaarst.
You can also try the same aggregation type on the title_page field to find common features from the title page.
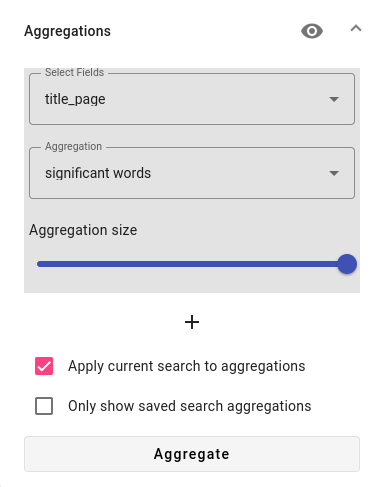
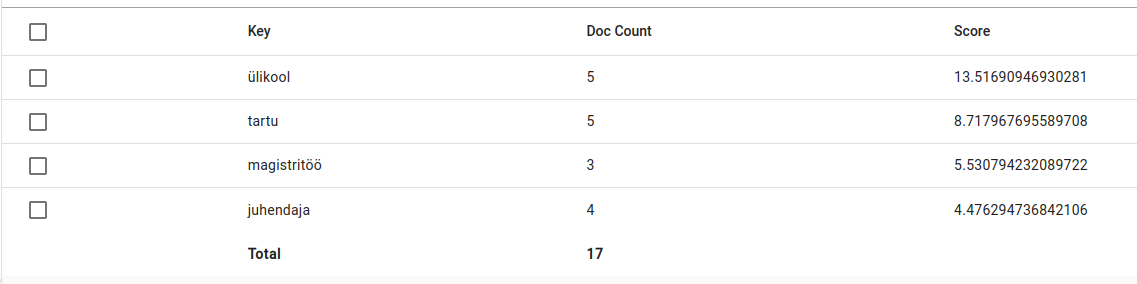
In the results we can see that most of the documents have the same university name (with “tartu” and “ülikool” as separate words), three documents include the word for MA and 4 include the word “supervisor”.
Now we can answer the fourth question:
The most common features are that the documents were from University of Tartu, most of them were MAs and had the supervisor mentioned on the title page and the lemma kõrvaarst was also prominent for this set of documents.
Use Case III: Adding new metadata
Metadata is usually added to documents with Facts. You can add metadata to documents by using a search query. For more advanced users, you could create Regex Taggers for adding metadata via regular expressions.
Let’s use the documents we’ve found earlier and add a new fact (metadata) relating to the new information.
Let’s suppose we are adding metadata based on if we have a doctor mentioned and then the type of doctor mentioned. So the added fact would have the fact name “Doctor_term” and the fact value in the case of the previous query would be “ear doctor” or “kõrvaarst”.
For adding metadata, it is a good idea to test it out in a separate index. Use the reindexer to create a new index based on a query. If you haven’t saved the search query for documents you wish to add metadata to, you can save it by following the instructions here.
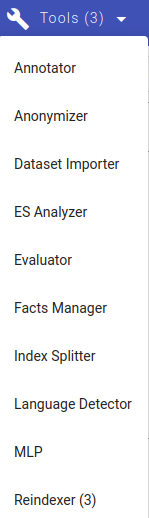
The reindexer is under the Tools menu.

Press the Create button.
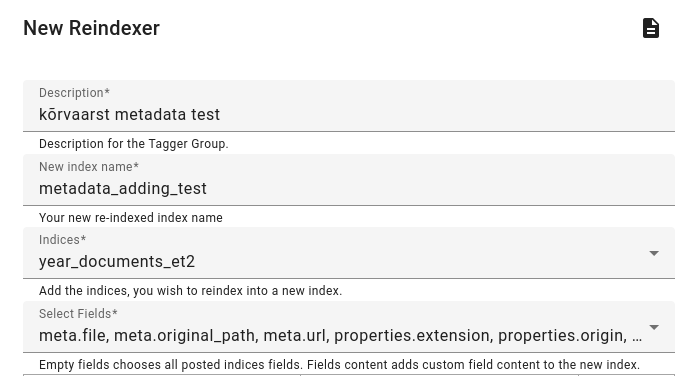
Fill in the new index description and name, pick the base index and choose the fields you wish to include. In this case, we choose all, but omit any _mlp_meta fields.
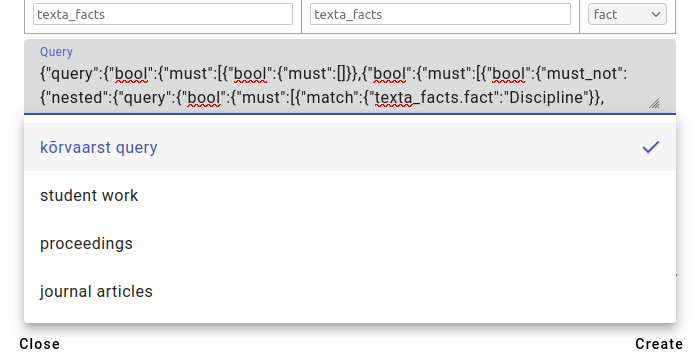
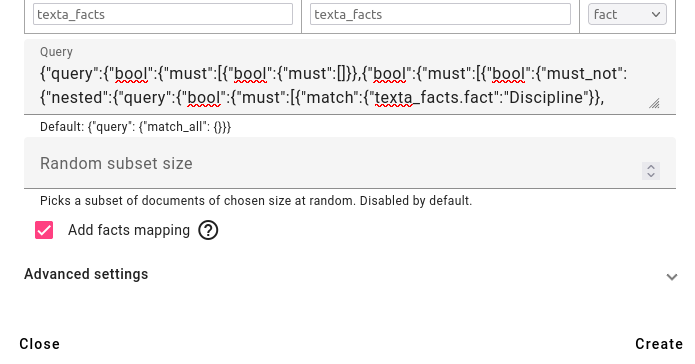
Add the saved query, in this case kõrvaarst query.
Press Create. You can refresh to see if the new index has been created (task has been completed). The reindex task completion time depends on the amount of documents in the new index.
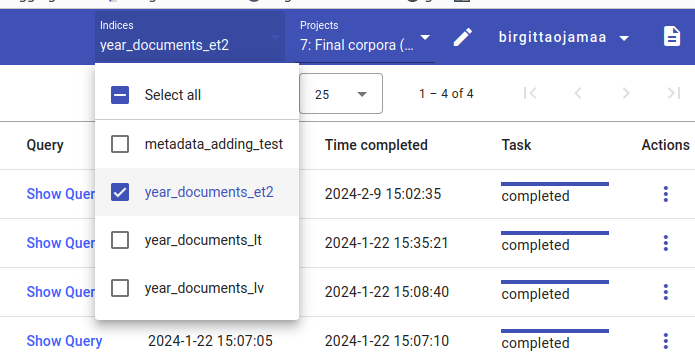
The new index has automatically been added to the project under which it was created. For the purpose of this tutorial, it will be moved to 10: Demo project. If you’ve created a new project, then there’s no need to move it.
Now we open up the Search Query Taggers from the Models menu and create a new task by clicking on Create.
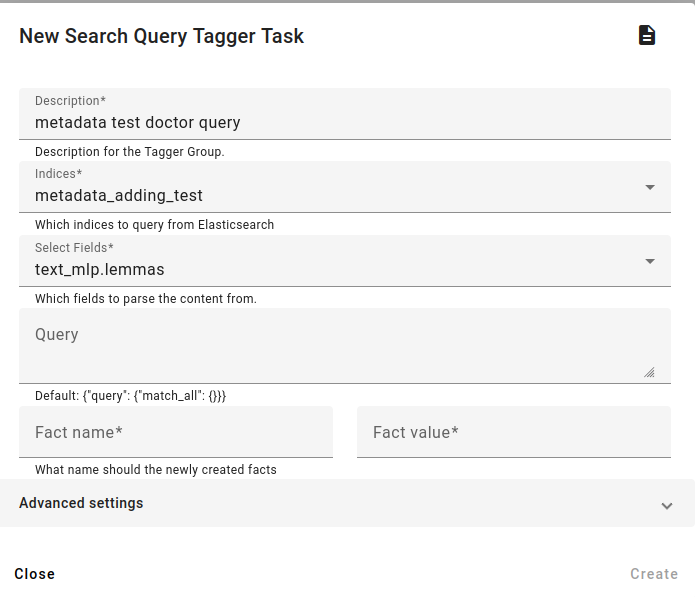
Choose the description and the field related to the fact (usually the same text field we used to find words or lemmas with). Choose the reindexed index under Indices, this is the index that the query will be applied to. Since we’ve reindexed the query, all documents in the index already match this query.
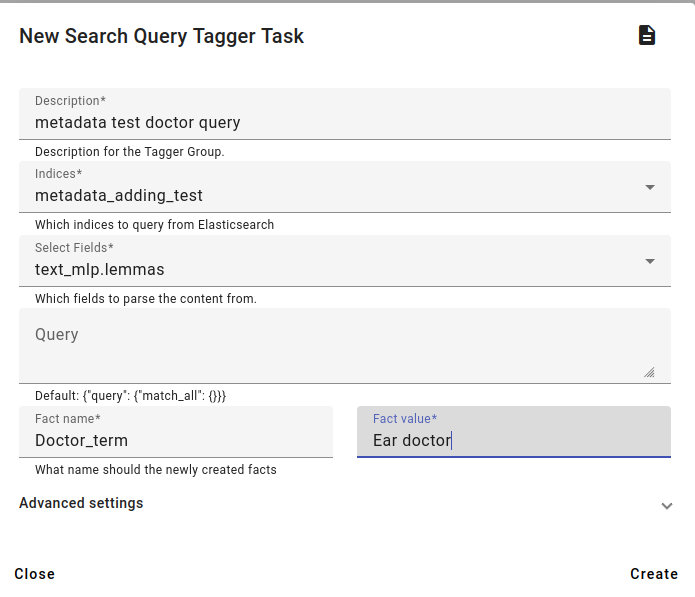
Choose the new fact name and value. As mentioned above, we will add the fact name Doctor_term and the fact value Ear doctor.
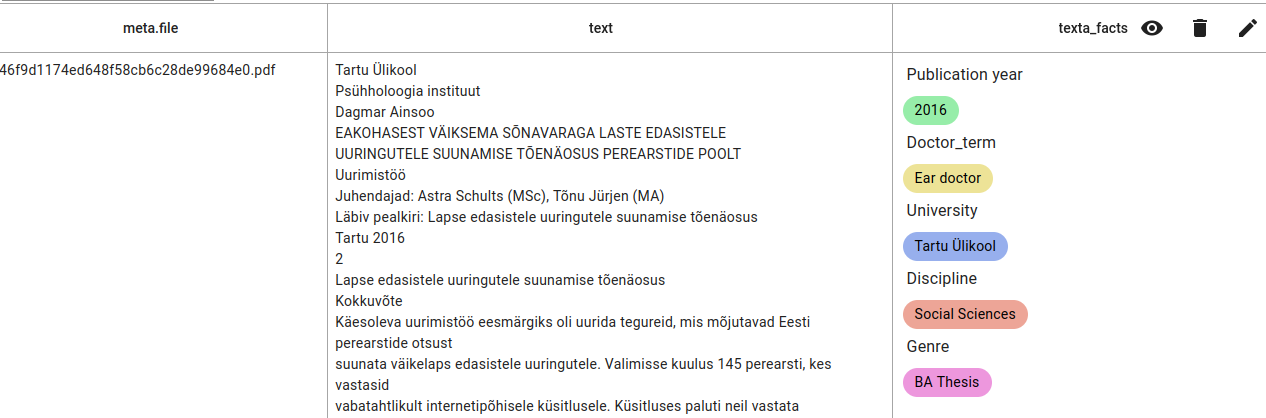
This is the result in the search view, viewing the reindexed index with the added fact.