Tools
Editing and Deleting Facts (Facts Manager)
Facts can be edited and deleted in bulk or individually.
Individual editing/deleting makes sense for a few documents with an unwanted or misspelled fact.
Bulk editing/deleting is meant for deleting a lot of mistaken facts or changing a lot of fact names or values at once.
Editing facts
Editing facts individually
For individual editing, find the unwanted fact in the texta_facts field in Search view.
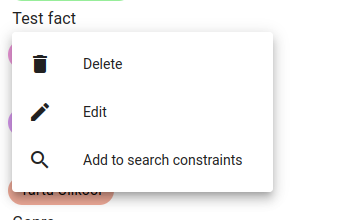
Let’s say we want to edit Test fact with the value Test to have a different name and value.
Click on the fact name and select Edit.
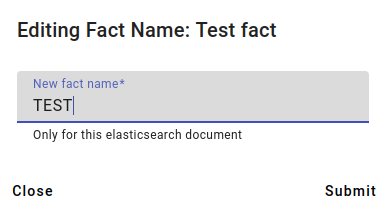
Enter a new fact name and click Submit.
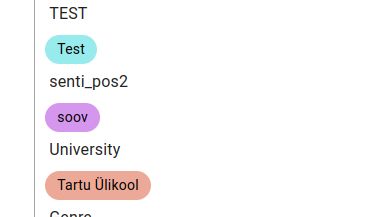
The edited fact now looks like this.
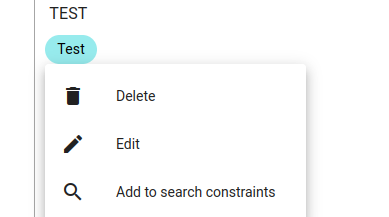
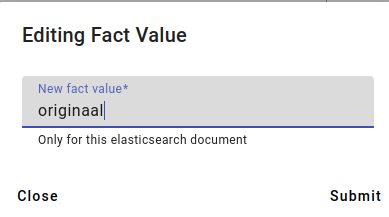
To change the fat value, click on the fact value and select Edit.
Enter the new fact value and click Submit.
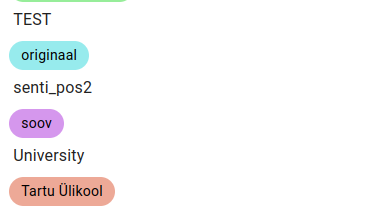
The edited fact value now looks like this.
Editing facts in bulk
For bulk editing there are two different ways to access this functionality:
One way is by going into the Search view and clicking the pencil button on the texta_facts field.

This opens up the bulk edit facts menu, seen below.

For editing the fact name, choose the Fact name and the New fact name.
For editing a specific fact value, choose the Fact name, then pick the Fact value you wish to change from the drop-down menu and enter a New fact value.
You can also change fact name and fact value at the same time for facts that all have the same value.
Then press Create.
The other option to bulk edit facts is to go into the Tools and pick the Facts Manager.
This is also where you’ll get an overview of any ongoing bulk edit and delete facts tasks.

By clicking on Create, you can choose whether you want to bulk edit or bulk delete facts.
The same bulk edit facts menu will appear as in the first variant.

You can check the results either in the index itself or by checking the texta_facts field in Aggregations (see more information about this in Aggregations).
Deleting facts
Deleting facts individually
Deleting facts individually works very similarly to editing facts.
For deleting individual facts, use the texta_facts field in Search view to locate the fact you wish to delete.
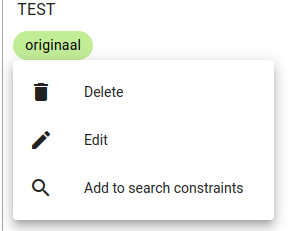
Click on either the name or value to access the Delete option.
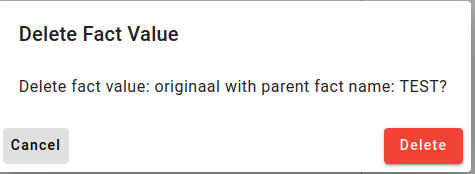
Confirm that you wish to delete this fact by pressing Delete.
The fact is now deleted.
Deleting facts in bulk
Bulk deleting facts is very similar to bulk editing.
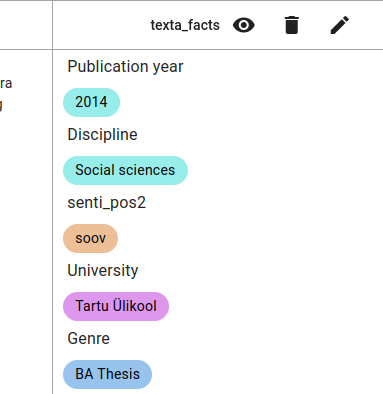
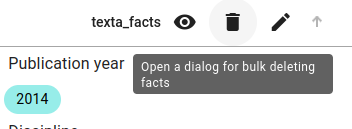
One way is by going into the Search view and clicking the wastebasket on the texta_facts field.
Fill in the description and pick the index or indices you want to delete this fact from.
You can also use a query to remove only some of the facts from a specific subset of documents.
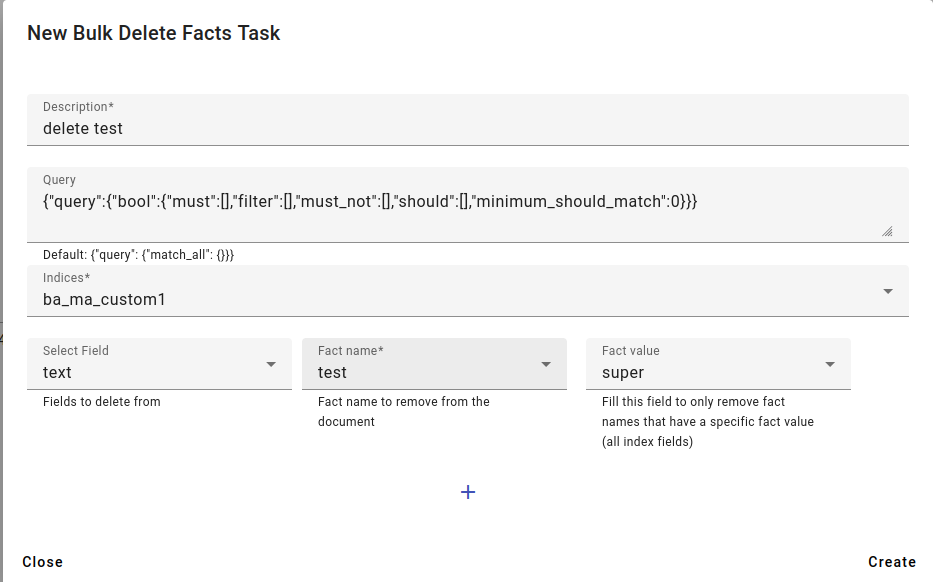
Then select the field (Select Field) to delete from - if you don’t know the field, you can try picking a field and then seeing what facts pop up in the Fact name drop-down menu.
You can also delete only facts that have a specific Fact value, not all facts.
After selecting the information you wish to delete, click Create.
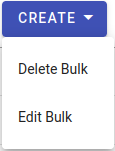
You can also access the same bulk delete task from the Facts Manager in Tools by pressing on Create and then Delete Bulk.
This will bring you to the same bulk delete facts menu as in option 1.
You will also see the task status in the Facts Manager.
Annotating Data
The Annotator tool is another way to generate facts, by creating a task for a user or several users to annotate documents using predefined labels or classes.
The people assigned to the annotation task will only see one document at a time and be able to give it a label or mark named entities.
Annotation types
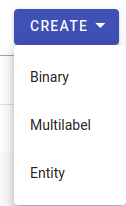
There are three different types of annotation: binary, multilabel and entity annotation.
- Binary annotation
Binary annotation refers to situations where something can be either one thing or the other: either true or false, positive or negative etc.
- Multilabel annotation
In multilabel annotation, you can have more than two labels and in some cases can select more than one label. For example, sentiment analysis can have three labels: neutral, positive and negative.
- Entity annotation
Named entities are a way to find the names of people, organizations, geographical places etc.
Entity annotation is different in that the annotator marks all instances of the entity inside the documents instead of selecting a label.
Usually entity annotation is done by annotating one category at a time (for example, finding only names of people, but not organizations or places).
Entity annotation can also use existing facts (for example, generated via MLP) for correcting automatically found named entities.
Label sets
The values in label sets are used as labels for multilabel annotating.
To create a label set, pick Annotator from the Tools menu.

Then go to the Label Set tab (above the Create button).

Press Create.
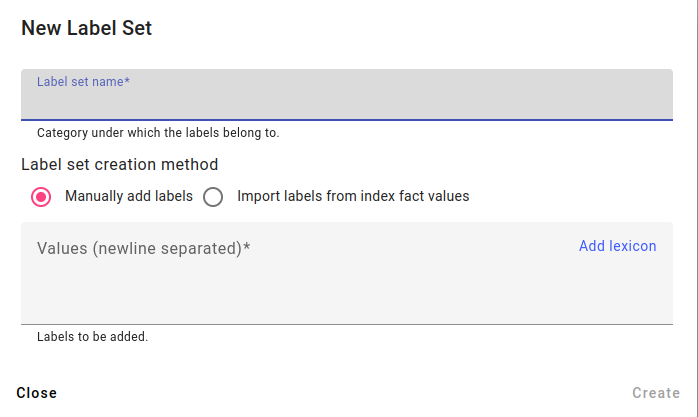
You have three options for creating labels:
Adding labels manually.
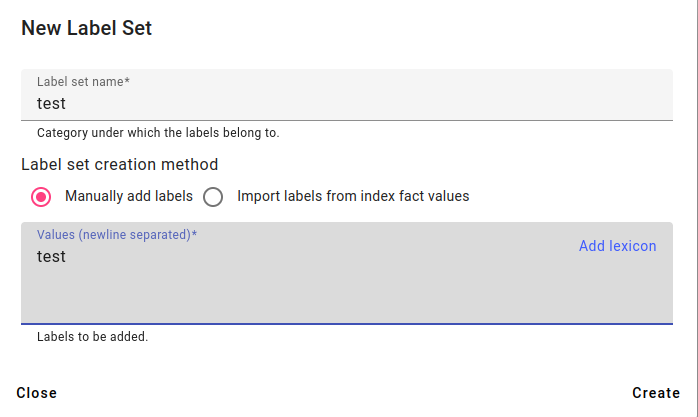
Enter the description for the label set and add any wanted values into the values box, separated onto different lines. Press Create.
Importing labels from existing facts.
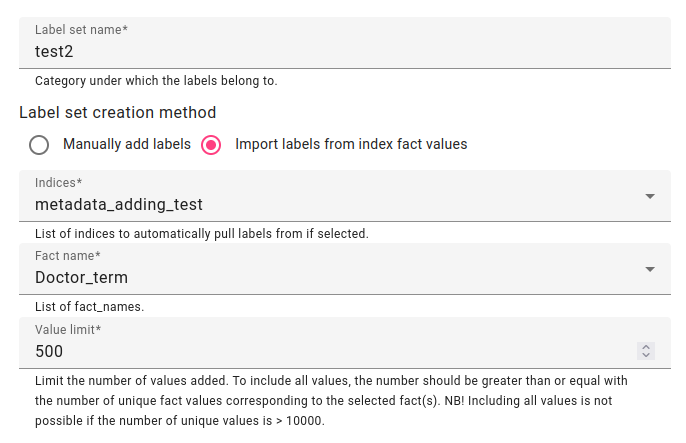
Enter the description for the label set and pick a fact you wish to get all the values of. Press Create.
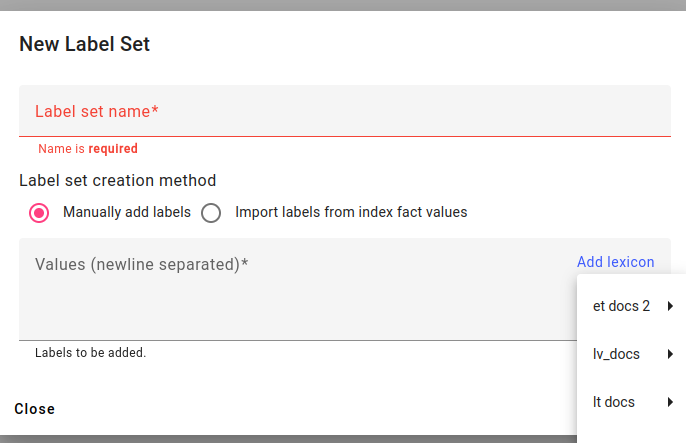
Adding the labels from a lexicon.

Looking at the label sets created manually and by using facts.
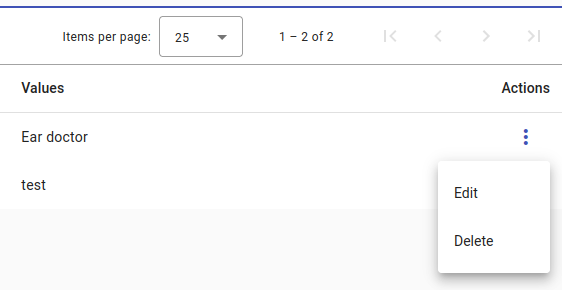
You can also Edit or Delete any created label sets. To do this, select the Actions menu.
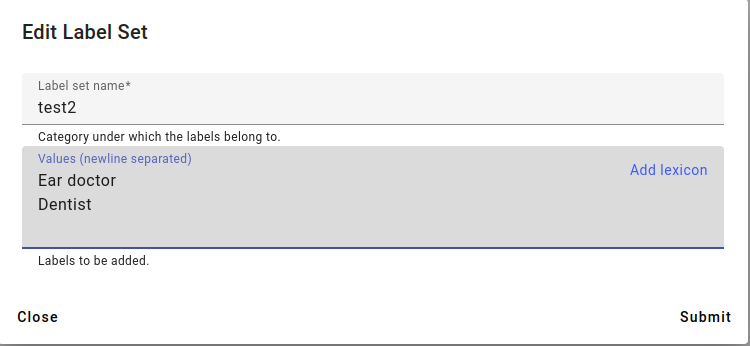
An example of the Edit Label Set window. Add any new values to a new line.
Creating an Annotation Task
Pick Annotator from the Tools menu. If you are in the Label Set tab, then switch over to the Annotator tab.
Press Create.
Choose the task description, users, annotation type, indices to be annotated, a field to parse content from (the document field shown to the user).
Additionally you may use a query if needed.
Press Create to create the annotation task.
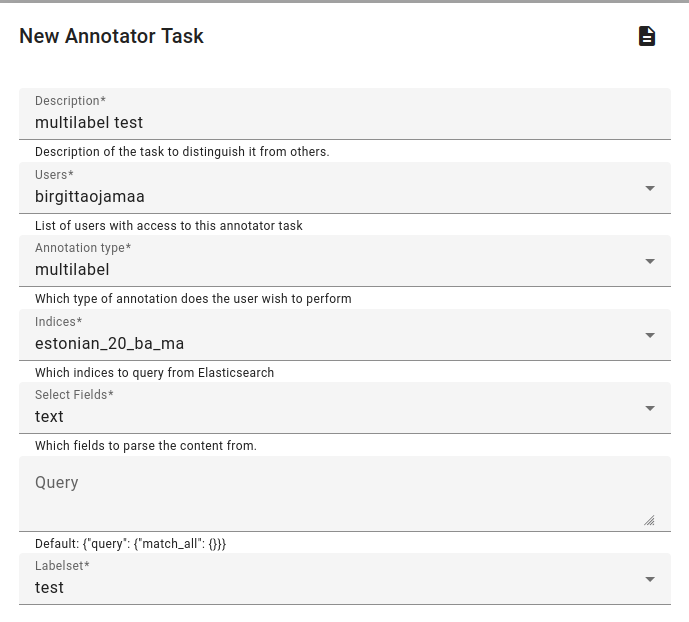
An example of multilabel annotation.
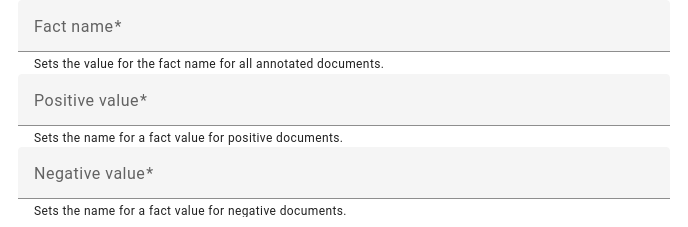
Binary annotation asks for negative and positive fact values.
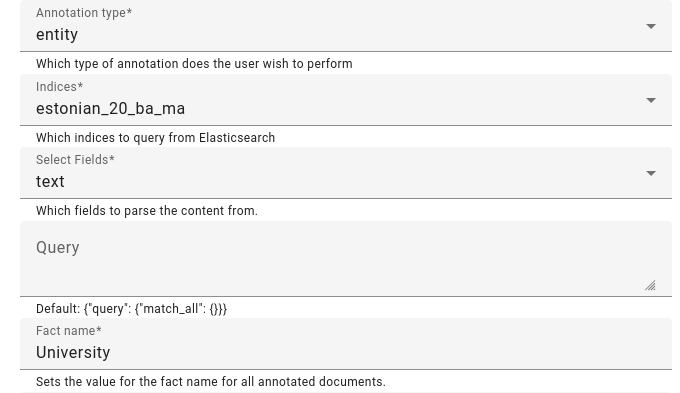
An example of using facts already present for entity annotation.
Annotating Documents
If you’ve created an annotation task for yourself or had one created for you, then you can annotate the documents in the annotator client at http://bwrite.texta.ee/annotator-client/.

You should see a list of tasks that are assigned to you. Click on the task to access it and start annotating.
Note
If you see two tasks instead of one (one task seems to be duplicated), then it may be that the task is not complete. Please wait for the task to complete in that case.
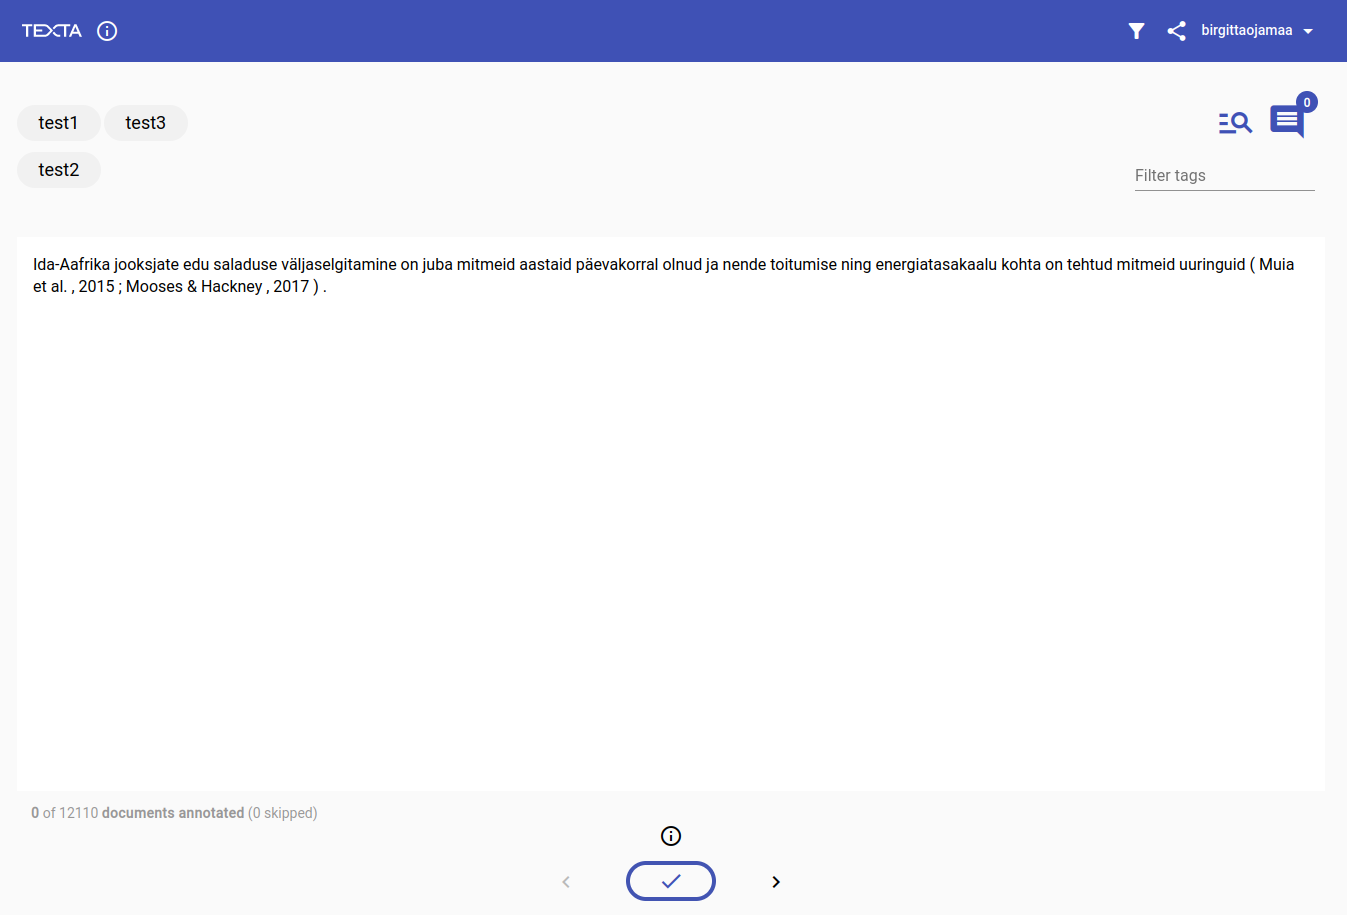
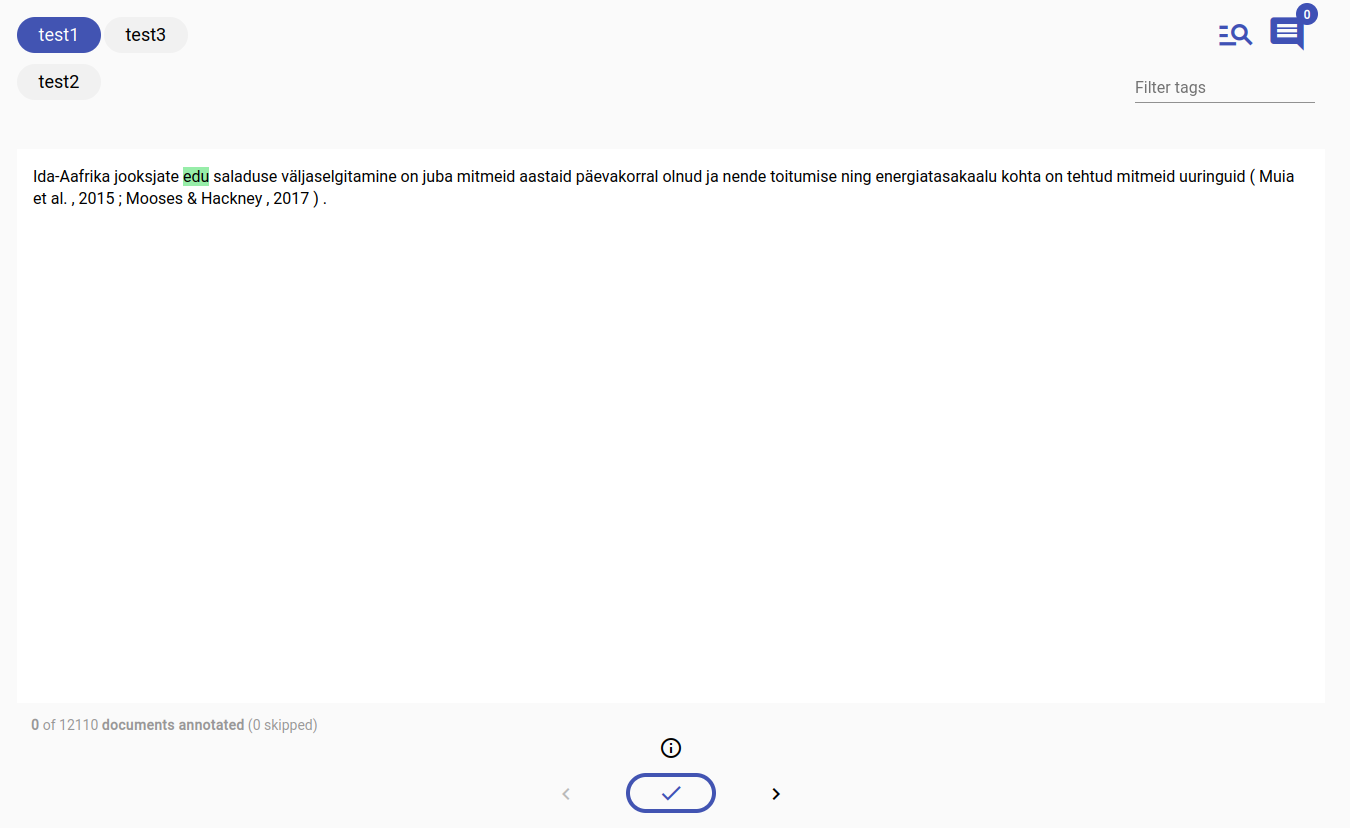
This is what the annotation screen looks like for multilabel annotation:
On the top left you have the possible labels, on the right you have extra options for highlighting, leaving comments and filtering labels.
In the middle is the document text to annotate.
And at the bottom is the tick to complete the annotation of this document, and navigation arrows (<>) to skip a document or go back to the last document.
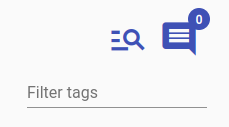
These are the icons for highlighting the document text, leaving comments and filtering labels.
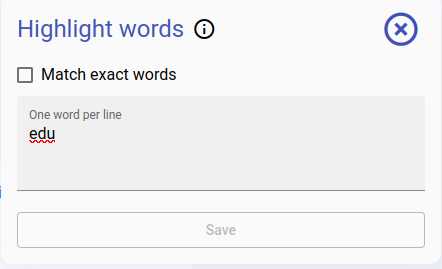
An example of typing in a word to highlight. This highlighting doesn’t reflect in the annotation.
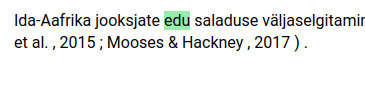
The highlighted word in the document.
To pick a label or labels, click on them.
To complete annotating this document, press the tick button.

The tick button

If you go back to the main menu, you have a full overview of how many documents you’ve annotated and how many you’ve skipped.
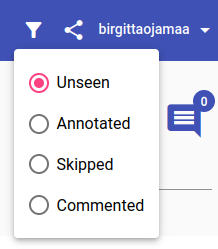
Near the very top, next to your username, you have the options to filter the documents and generate a link to the current document.
Filtering options include:
unseen documents
annotated documents
skipped documents
documents with comments
Evaluating Model Results
Under Tools you can access the Evaluator.
Given a test set with model-generated and true facts, the Evaluator shows a model’s F1, precision and recall scores (from 0-1) using different scoring functions.
The F1 score is a harmonized average of precision and recall and shows the model’s average effectiveness.
To create a task, you must choose what type of evaluation needs to be calculated:
Choose binary if your facts have only two options (usually True or False), but could also have any other two values, for example positive or negative.
Choose multilabel if you have more than two facts, for example positive, negative or neutral for sentiment tasks.
Choose entity if you are evaluating named entities.
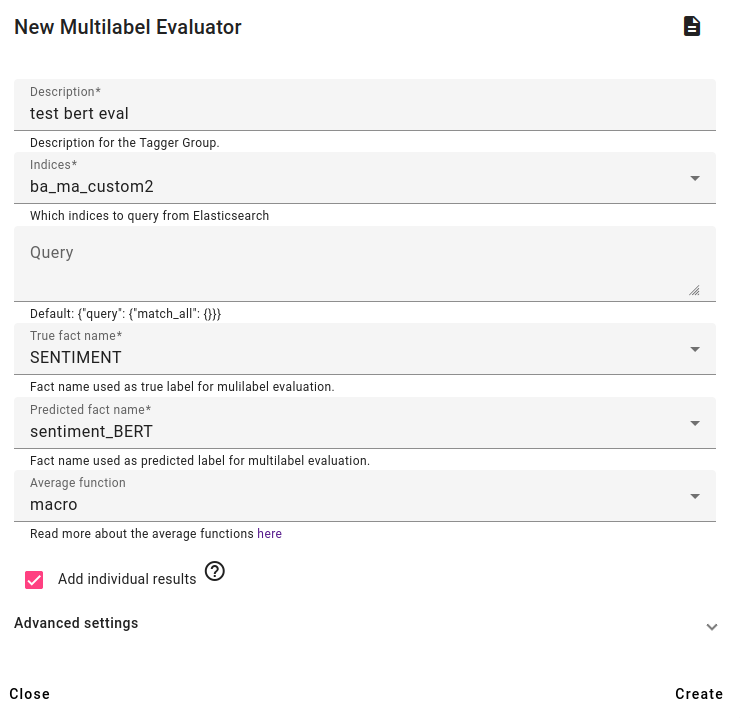
Creating the evaluation task for multilabel evaluation.
Choose an index to evaluate, which must have two types of facts: true facts (facts that are originally from the data or added by users) and predicted facts (facts predicted by a model).
Select these fact names and select the average scoring function (described more in here: https://scikit-learn.org/stable/modules/generated/sklearn.metrics.precision_score.html).
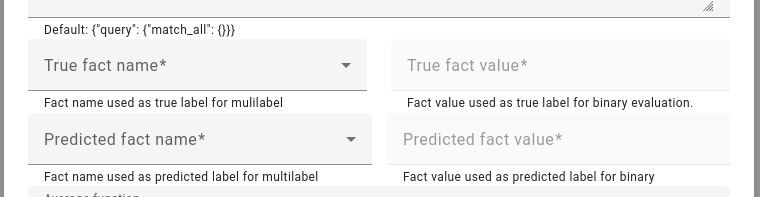
Binary evaluation is very similar, except it also allows you to choose the fact names and values used for the calculation.
For entity evaluation, you must also choose the field that the true and predicted facts are related to.
You have the option to see misclassified examples as well as making the calculation token (word) or span based (if the predicted entity matches the exact entity or at least some of the entity).
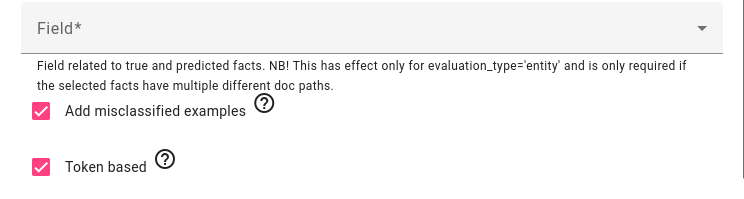
After the evaluator is created, you have more options. You can view individual results, filtered average, confusion matrix, edit (rename task), re-evaluate and delete the task.

Different F1s evaluated on the same facts can be related to the average calculation function selected. For example, for multilabel, it is recommended to use samples average scoring function.
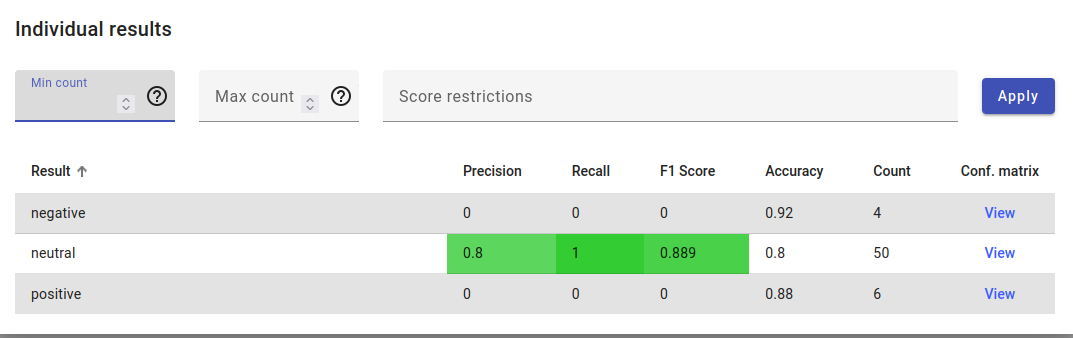
Example of individual results, where the score is calculated for all labels separately.
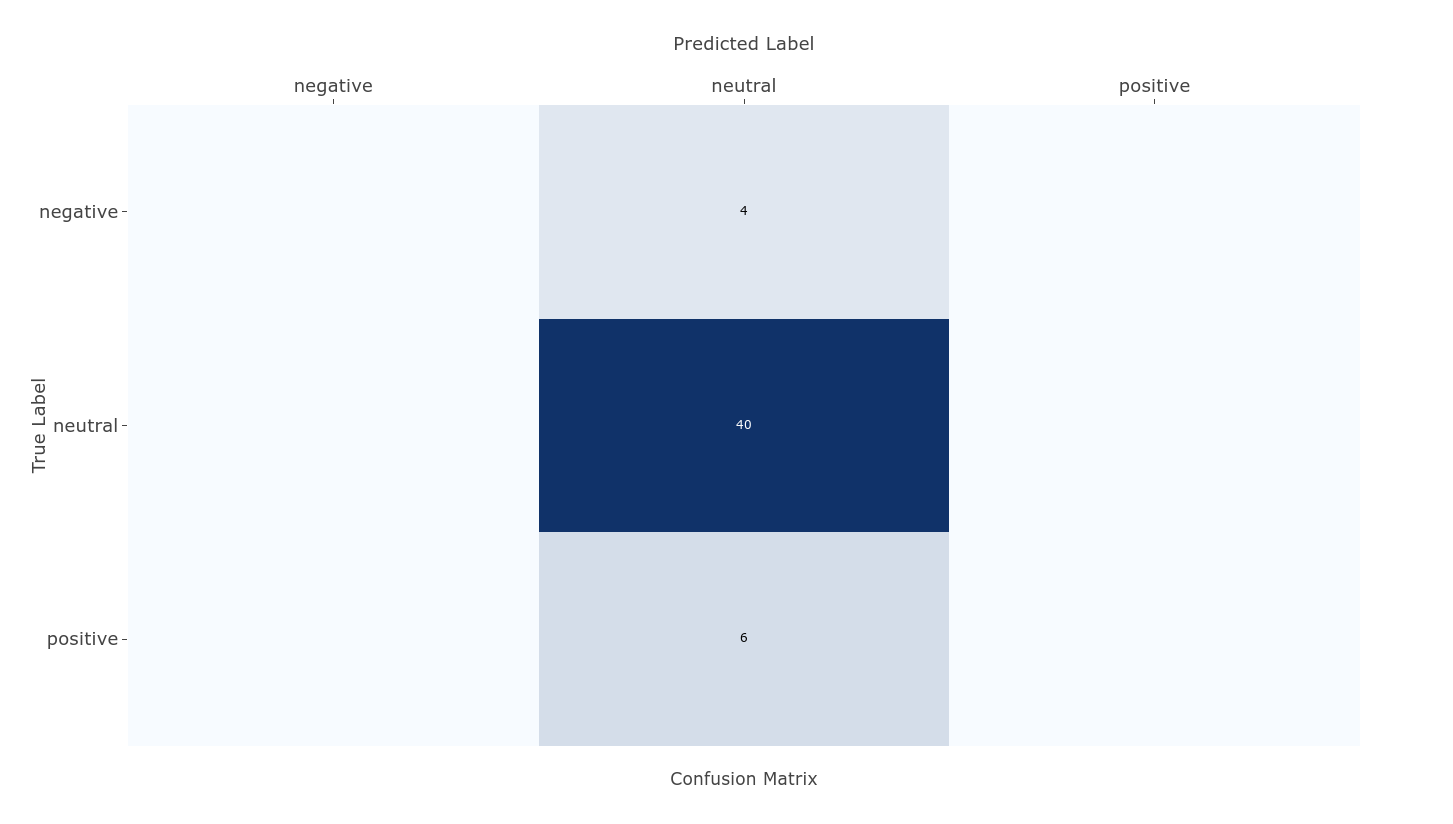
If we look at the confusion matrix for these results, we see that 40 documents were correctly labeled as neutral, but 4 negative and 6 positive documents were falsely predicted to be neutral as well.
Summarizing Text
To access the Summarizer, go to Summarizer in the Tools menu.
You can either train a New Summarizer (to apply on an index) or Apply to text.
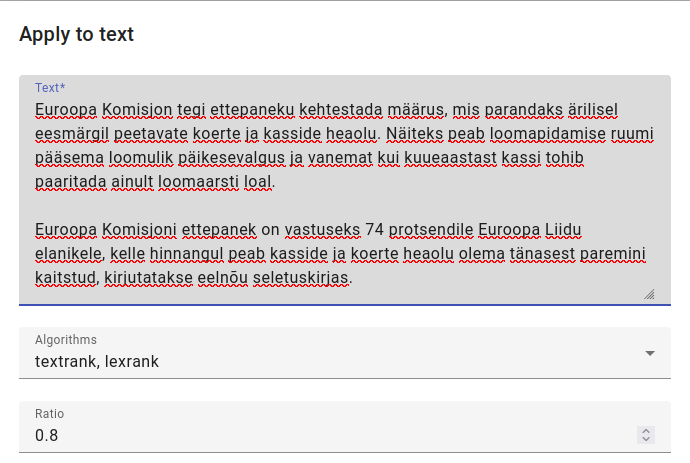
In this example, we apply the Summarizer to text from https://www.err.ee/1609216546/euroopa-komisjon-soovib-karmistada-kasside-ja-koerte-pidamise-noudeid
The ratio refers to how long the summary should be compared to the full text, while algorithms specify whether to concentrate on lexical or text structures.
You can also use both algorithms at the same time if you wish.
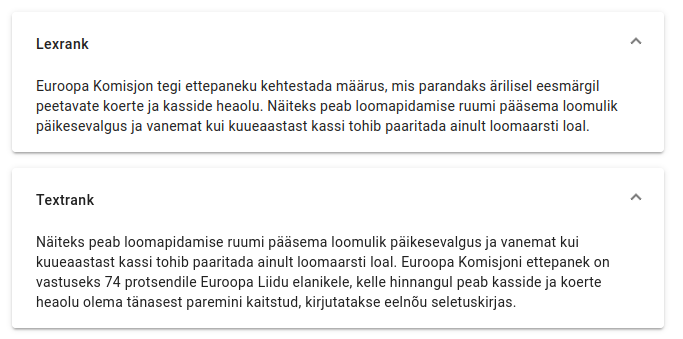
The results for both algorithm types in the example.
Analyzing Topics
Topic Analyzer is a tool that detects groups of similar documents in the data.
It can be used to explore the structure and topics of unlabeled data, but the main use of the tool is labeling data topics. This can be used later on in models.
To start analyzing topics, go to Topic Analyzer in Tools.
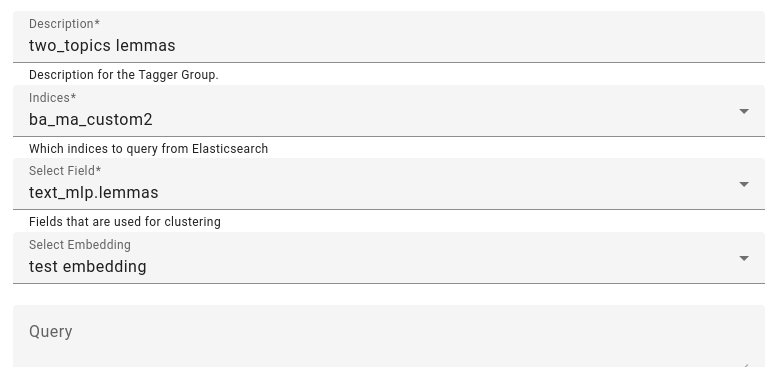
Enter in the description, choose the indices you want to analyze and select fields you want to analyze. A suggestion: use lemmatized or tokenized fields if possible.
Optionally, select an embedding.
for further filtering you can add a query, and for filtering out results a regex keywords filter and/or stopwords.
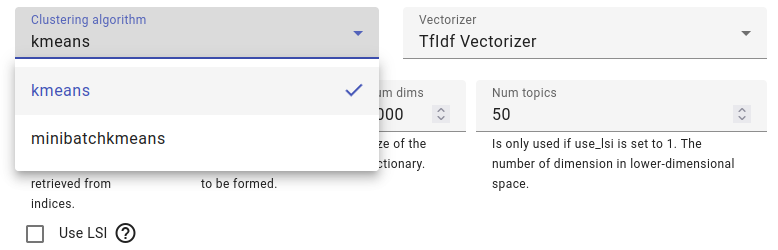
Choose a clustering algorithm, minibatchkmeans is a quicker variant of kmeans that might have worse quality, but which is good if you are analyzing a lot of documents.
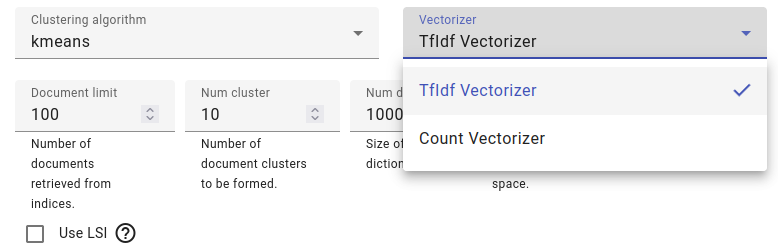
Select a vectorizer, either TF-IDF or count vectorizer.
Creating a topic analyzer for a small amount of documents: suppose we have two clusters and we are using lemmas for clustering.
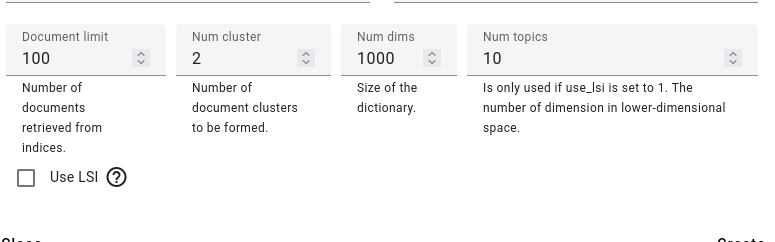
You can also modify the document limit and number of dimensions. If using LSI (Latent Semantic Indexing) you can also adjust the number of topics.
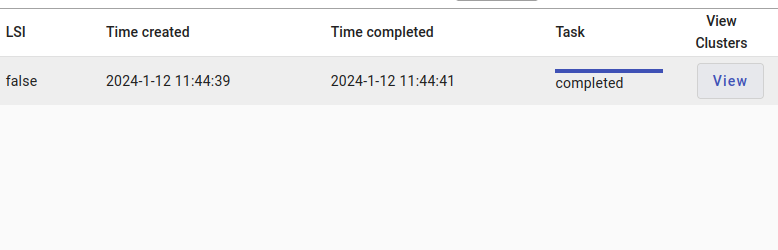
Once the clustering is done, you can view the clusters by pressing on the View button.

Here are our two clusters, one cluster is composed of a thesis about modern dance, featuring significant words like dance, modern dance, class, method, use, movement, child, purpose, idea.
The other cluster is another thesis with the significant words: airport, receiving damage, closing.
If the results don’t seem great at first, then it can be useful to analyze the same data using different clustering vectorizers and adjusting the cluster amounts.

Clicking on a cluster will allow you to see the documents within the cluster in more detail, delete the cluster, get more documents like this (which will show the other cluster if you have very few documents) and tag documents.
You can toggle the columns here as well and set a column character limit.
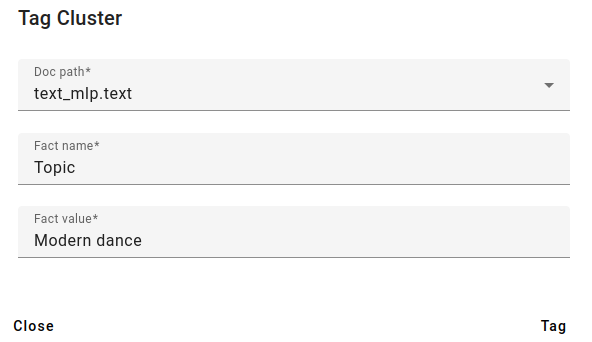
You can also tag the found clusters. For example, we can add a fact called Topic and add the fact Modern dance from here.

The new fact aggregated.
Anonymizer
Anonymizer is a tool for anonymizing names in a text based on a predefined list of names.
Each name detected from the text will be substituted with a randomly generated pair of initials and the initials should be constant.
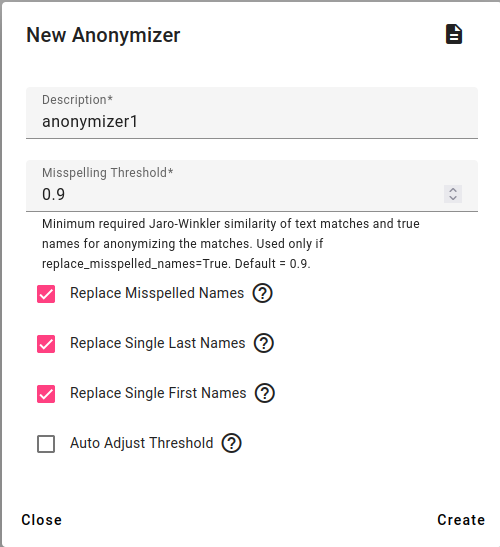
To create a new anonymizer, go to Tools and select Anonymizer.
Enter a description, choose the misspelling threshold and whether misspelled names, single last names, single first will be replaced.
You can also auto adjust the threshold for misspellings. For example if there are two names that are very similar, the auto threshold can help with that.
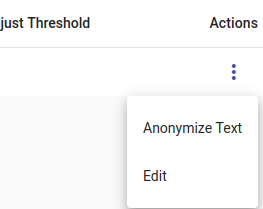
Then under Actions you can choose Anonymize text to test out the created anonymizer.
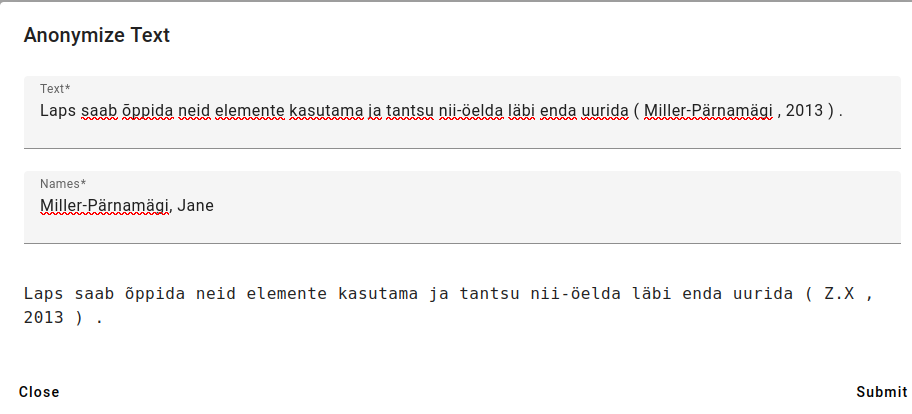
Write in or paste a text you wish to anonymize, add names (last name first, adding a comma, then first name) adding every name on a new line.
Then press Submit.
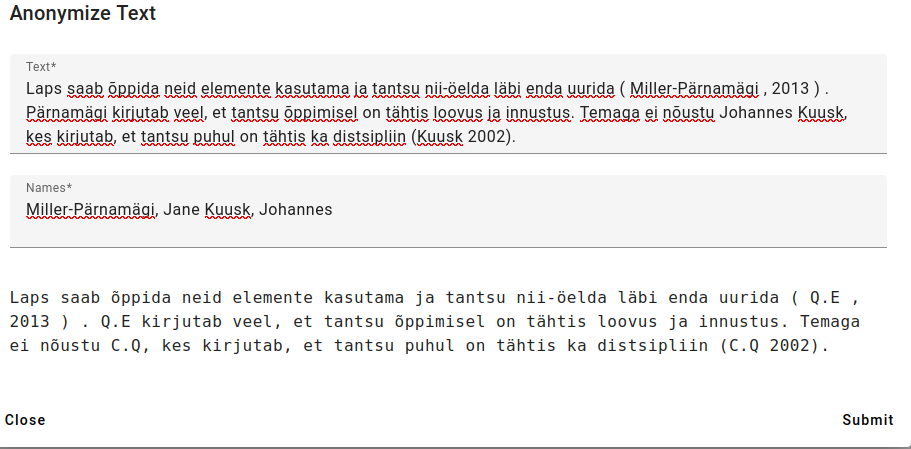
Above is an example with several names and several mentions in the text.
As you can see, on finding a partial last name, the anonymizer has recognized that it is the same name and given it the same initials.
Retrieval Augmented Generation
The tools GPT Azure and GPT Elastic are made to access vector databases in Azure or Elastic, respectively.
Retrieval Augmented Generation is a method for improving generative models by pre-selecting some documents from the vector database to use in the prompt.
These tools are still being developed and haven’t been documented yet.