Adding and Managing Data
Creating a New Project
Go to the Projects view and press Create.
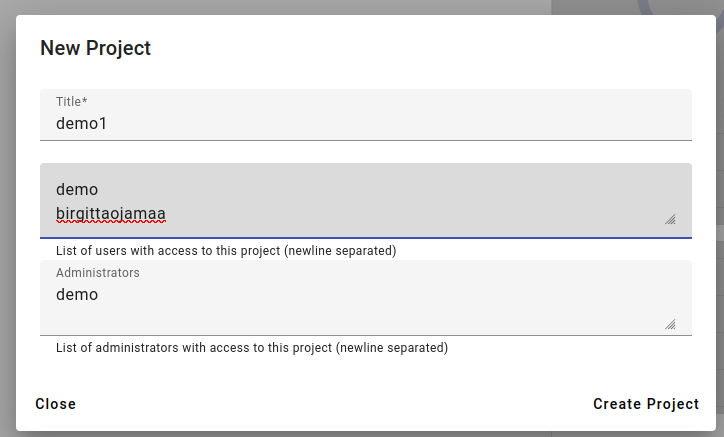
Enter the new project title, the users and administrators, then press Create Project.
Your new project should be visible in the projects list.

You should automatically be using your new project. If you have the correct rights, you can now add indices to the project (see more information in Indices).
Adding Data with the Dataset Importer
Open up the Tools menu and pick Dataset Importer. Press Create to create a new dataset importer.
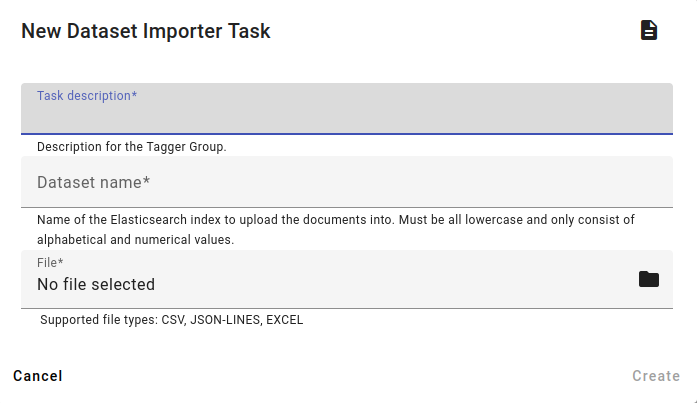
Choose the task description and the dataset name (the name of the created index). The index name should be unique, otherwise the import might fail or add the data to an existing index.
Then choose a file to upload (in jsonlines, CSV or Excel formatting). Jsonlines documents are preferred for importing datasets. Press Create.
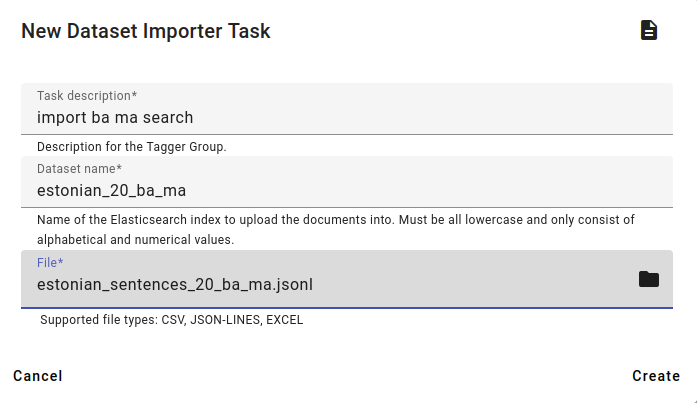
In this example a jsonlines document will be used that was exported previously in Downloading Data.
To see the process update, refresh the page. When the task is completed, you will be able to access your index from the project automatically.
Note
Don’t forget to check if all your data was imported from the process details (Documents vs Documents success). Access the details by clicking on the task.
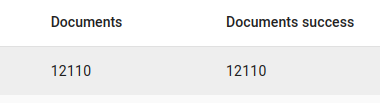
All is correct
Reindexing Data
Reindexing allows you to:
rename an existing index
merge different indices together
get a fixed number of documents from an index
use a query to get a subset of an existing index
If you are planning to process the data or use any tools, then it’s always a good idea to do it on a copy or subset of an index.
Click on the Tools menu and choose the Reindexer. Press Create to make a new task.
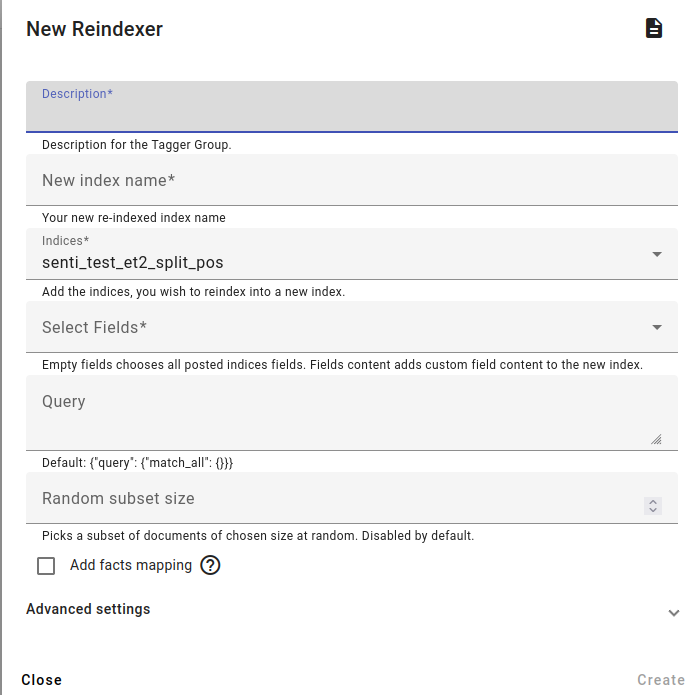
Put in the description of the reindexing task and select a new index name.
The new index name should be unique, otherwise the reindexing task might fail or add the data to an existing index.
Choose the index or indices you wish to reindex. If you choose two or more indices, the result will be a merged index.
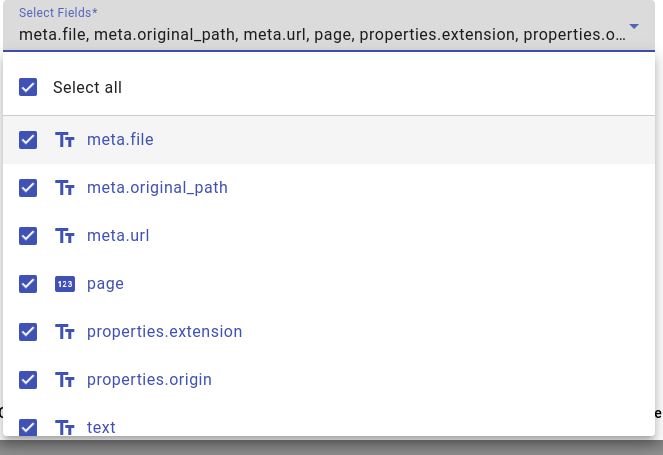
Then choose the fields you wish to include, by default all the fields are selected. You can deselect any fields to get rid of them in the new index.
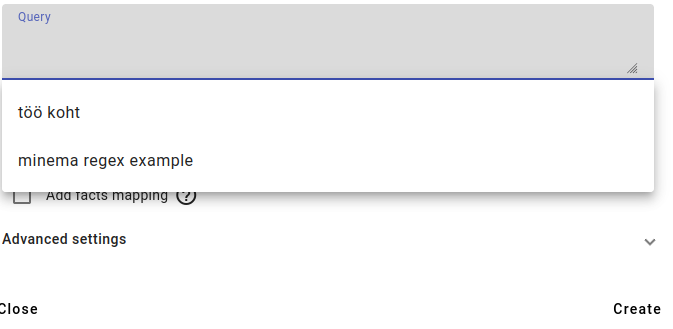
You can use a query to select a subset of documents that match the query. This is a way to create a subset of documents from other indices.

You can also use the random subset size to get a fixed amount of documents from the other index/indices. This can also be combined with the query option.

Don’t forget to add facts mapping to the new index, although if you are reindexing an index with facts this should turn on by default. Fact mapping is needed for facts to work correctly.
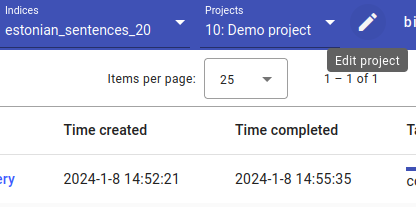
Press Create to start the reindexing task. Refresh to see the process updates. The new index should be added automatically to the project when created.
Add New Indices to Project
You’ve created a new index, but want to move it to a different project. Here’s how to add that index to your project:
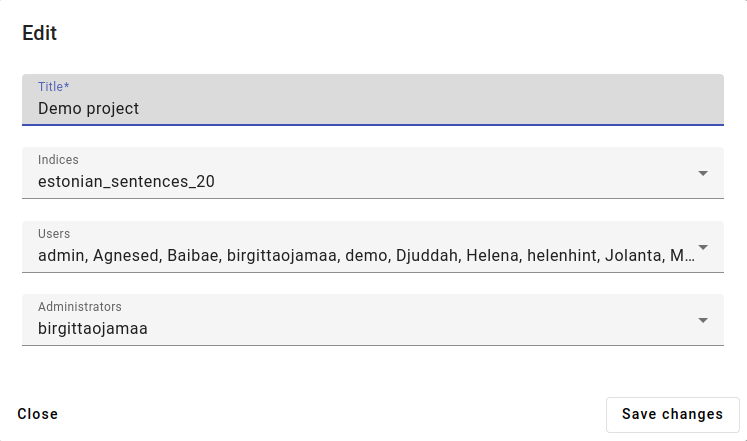
If you have the correct rights, you can add new indices by clicking on the pencil button on the blue menu ribbon, going into Edit project.
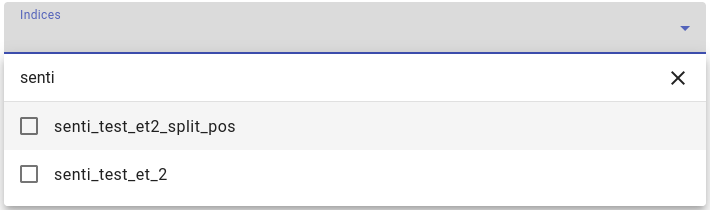
Find the index or indices you want to add to the project. You can type to find the index quicker.
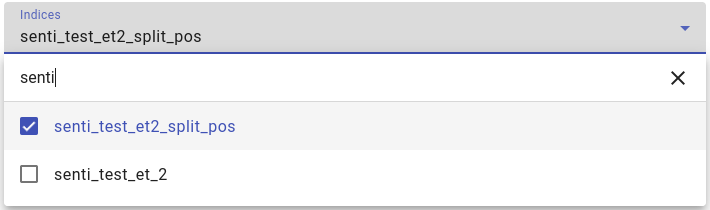
Add a tick to the box in front of the index name, then click Save changes.
After this, pick the index you just added to look at it in Searcher.
Removing an Index from Project
Removing an index from a project is very similar to adding new indices to a project.
If you have the correct rights, you can remove any unneeded indices by clicking on the pencil button on the blue menu ribbon, going into Edit project.
Find the index or indices you want to remove from the project. You can type to find the index quicker.
Remove the tick from the box in front of the index name.
Then click Save changes.
Splitting an Index
The Index Splitter allows you to create two indices from one index, whether you are using it to divide your data into two sub-corpora or create a test and train set for a model.
To split an index, open the Tools menu and click on Index Splitter, press Create.
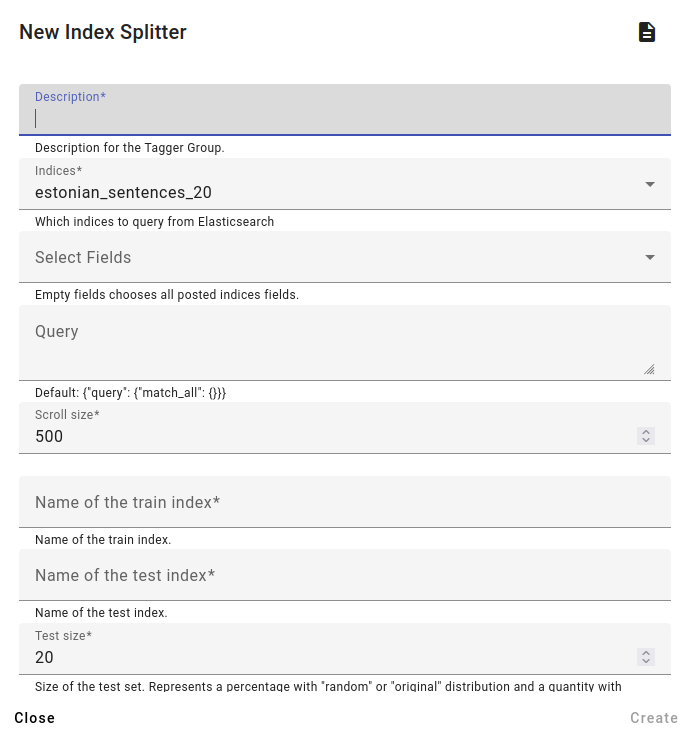
Choose a description and put in the indices or index you are trying to split.
Choose the fields you want or get all the fields by default.
You can use a query here to get a subset of data.
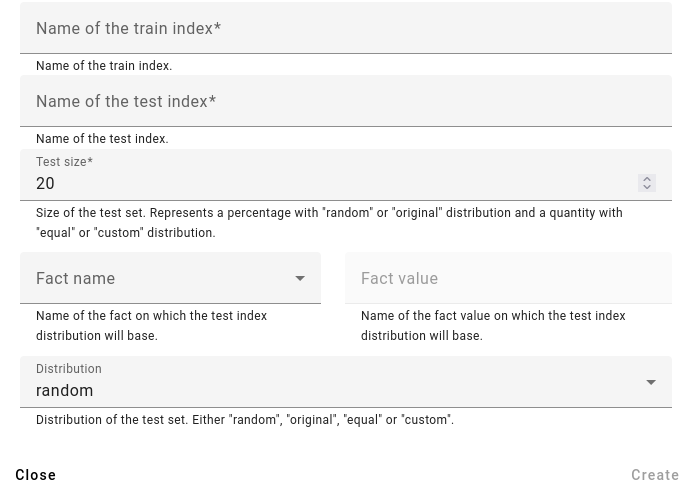
Pick the names of your new two indices. In this menu they are referred to as train and test, but they can be anything you wish. However, the names of new indices should be unique, otherwise the task will fail or the documents might be added to an existing index.
After picking the new indices names you can choose the percentage or amount of documents that will be in each index with Test size.
You can adjust the Distribution by using an interesting fact’s proportions. By default the distribution will be random (documents will be put into one of two indices randomly). Other options are to keep the distribution similar to the original situation by using a fact name or fact value or to make the distribution equal (make the test index 50/50 in regards to this fact).
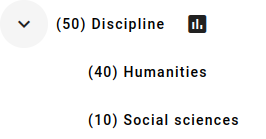
For example, if we have an index containing 100 documents that has 20% social sciences and 80% humanities documents, and we would like to split these documents into two indices, we have a lot of options:
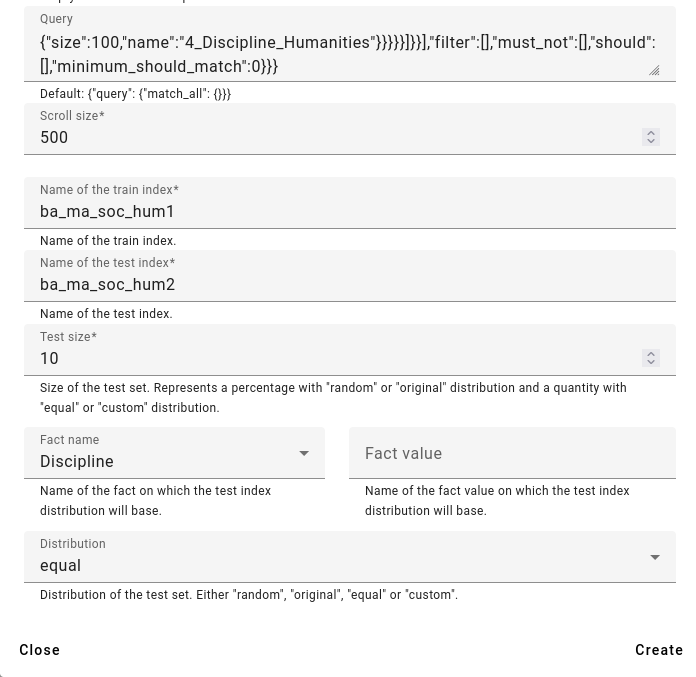
An example of using equal distribution.
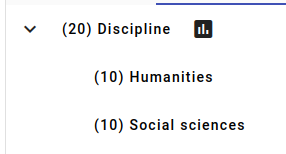
Result in the split index ba_ma_soc_hum_2.
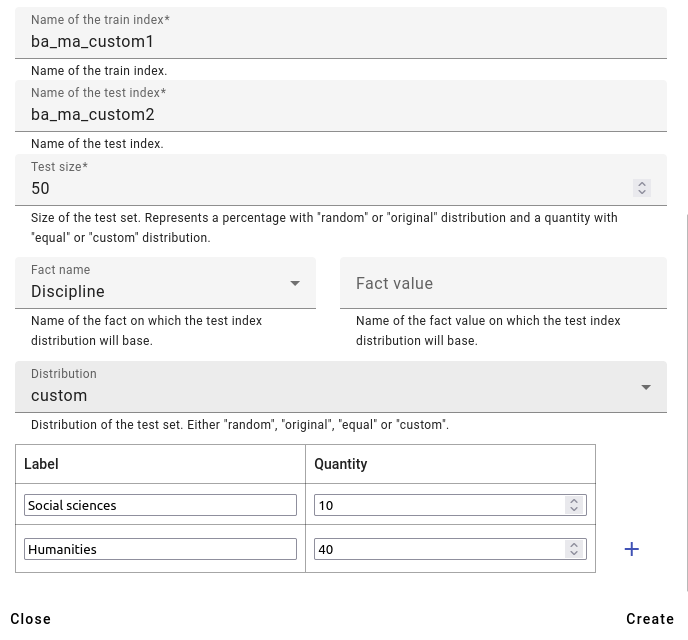
An example of using custom distribution.
Result in the split index ba_ma_custom2.